

ProductPRODUCT
Featured products
Contact Us

- Ingersoll Rand
- 47704431001 47569978001
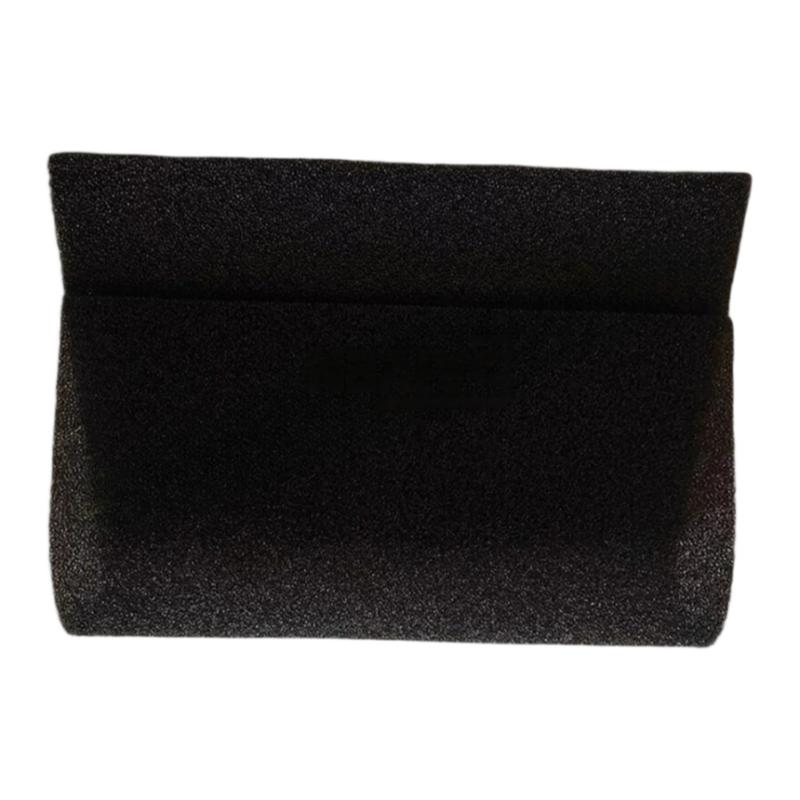
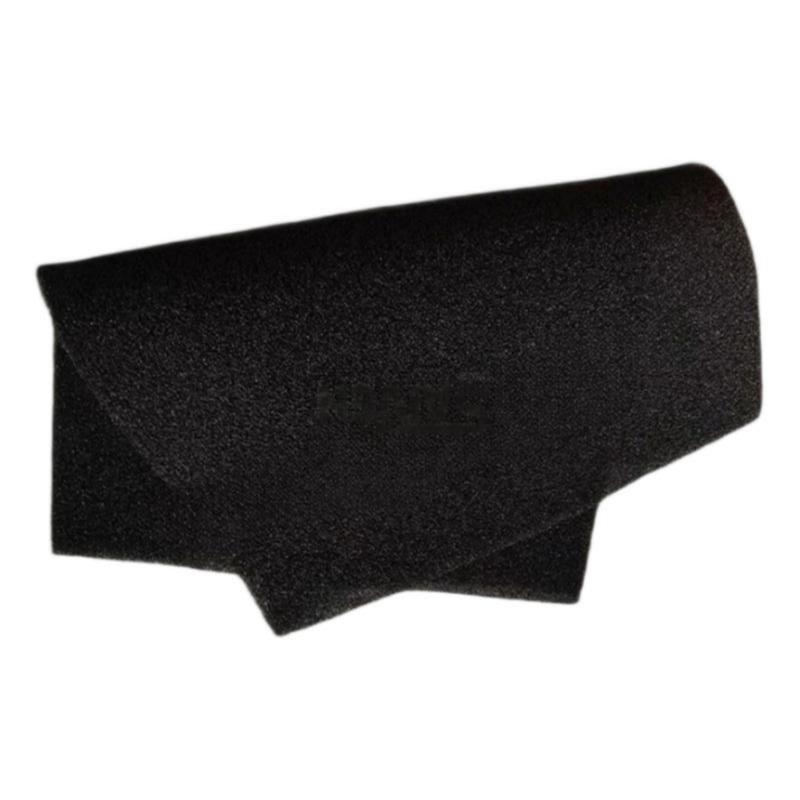
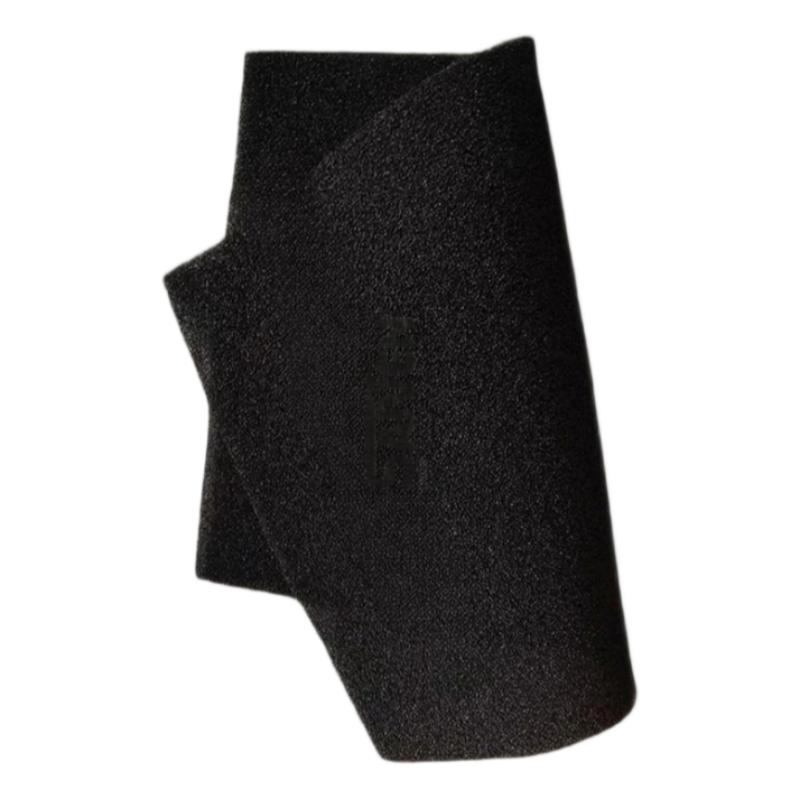
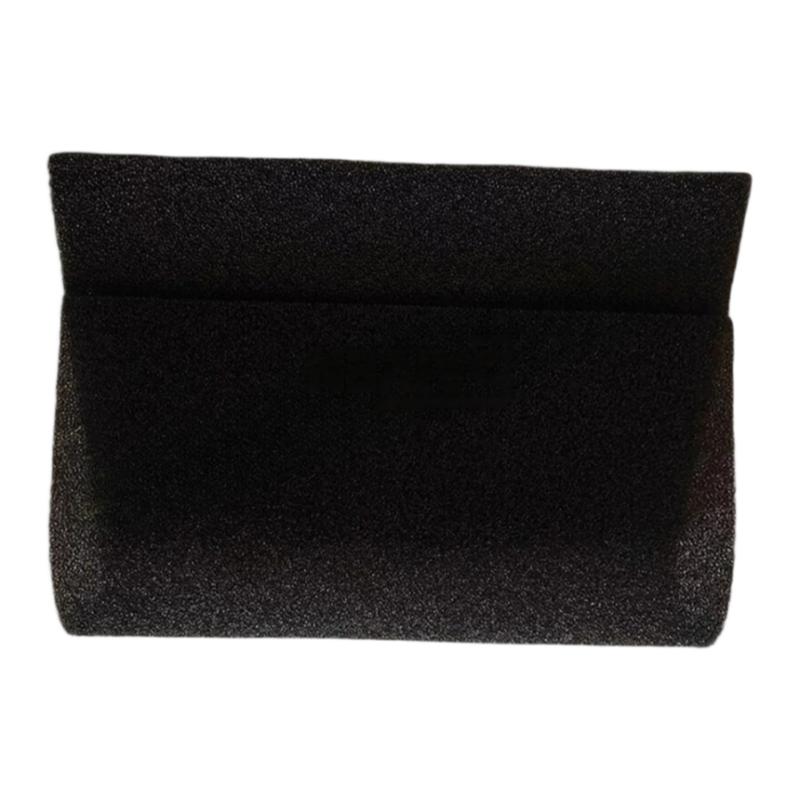
- Gasket Pre-Filter
- USA
- 457 x 15 x 304 mm
- 0.45 kg
- Xiamen, China
- New & In Stock
- T/T, PayPal, Western Union
- 1 Year
- 1-3 Working Days
- DHL, UPS, TNT, FedEx and EMS.
- 24-Hour Service
- COO
- 58
Our advantage

Global Logistics
We have a 10-year logistics and express cooperation agreement, so our products can be shipped to any place in the world.

Brand new and original
Our products are imported in bulk from the place of origin. Because of the cooperative relationship, our products are all original and 100% new.

24-hour service
We provide 7*24 hours service to our customers. We will be there whenever you need us.

Price advantage
All our products are priced very favorably because we have our own warehouse and supply.
| Company Information | |||
| [email protected] | |||
| Mobile | +8615980777398 | ||
| +8615980777398 | |||
| 15980777398 |
Product Overview
The Ingersoll Rand 47704431001 47569978001 Gasket Pre-Filter is a filtration-related maintenance component intended for use in compatible Ingersoll Rand industrial compressor air-intake systems. Positioned as a pre-filtration component, it can help protect the primary air filtration arrangement by capturing larger airborne contaminants before they reach downstream filtration components.
Pre-filtration is particularly useful in industrial environments where compressors are exposed to dust, fibers, dirt, and other airborne particles. By reducing the contaminant load reaching the main filter, a properly maintained pre-filter can support stable airflow and help extend the effective service life of downstream filtration components.
The supplied product information is:
- Manufacturer: Ingersoll Rand
- Reference: 47704431001
- Part Number: 47569978001
- Product Type: Gasket Pre-Filter
- Application: Industrial Air Compressor
- Dimensions: 457 × 15 × 304 mm
- Weight: 0.45 kg
- Primary Function: Intake Air Pre-Filtration
- System Role: Preliminary Contamination Control
Because the exact construction and installation arrangement may vary between compressor configurations, the applicable service procedure should be confirmed before installation.
Technical Specifications
| Parameter | Specification |
|---|---|
| Manufacturer | Ingersoll Rand |
| Reference | 47704431001 |
| Part Number | 47569978001 |
| Product Type | Gasket Pre-Filter |
| Application | Industrial Air Compressor |
| Dimensions | 457 × 15 × 304 mm |
| Weight | 0.45 kg |
| Main Function | Pre-Filtration |
| Installation Location | Compressor Air-Intake Assembly |
| Maintenance Type | Pre-Filter Replacement / Service |
| Primary Purpose | Reduce Intake Contamination |
The supplied dimensions and weight should be used when planning storage, maintenance handling, and replacement-part identification.
Function and Working Principle
The pre-filter operates before the primary filtration stage.
A simplified airflow arrangement is:
Ambient Air
↓
47569978001 Pre-Filter
↓
Primary Air Filter
↓
Intake Valve
↓
Compression Element
↓
Compressed-Air System
The pre-filter captures larger particles before they reach the primary air filter.
Potential contaminants include:
- Dust
- Dirt
- Fibers
- Larger airborne particles
- Process debris
- General environmental contamination
The pre-filter therefore acts as an initial contamination barrier.
Its function can be summarized as:
Contaminated Ambient Air
→ Pre-Filtration
→ Reduced Particle Load
→ Primary Filtration
→ Cleaner Compressor Intake Air
Role in Compressor Air-Intake Systems
An industrial compressor can process a very large volume of ambient air during continuous operation.
The quality of that air directly influences the contamination load on the filtration system.
In a dusty environment, the primary filter may become loaded relatively quickly. A properly maintained pre-filter can capture larger contaminants before they reach the primary filter.
This can support:
- Cleaner intake air
- Reduced contamination
- More stable airflow
- Longer primary-filter service intervals where applicable
- Reduced maintenance frequency
- Protection of downstream compressor components
The pre-filter should not, however, be considered a substitute for the primary compressor air filter.
Typical Applications
The 47569978001 Gasket Pre-Filter may be used in compatible compressor intake assemblies during:
- Preventive maintenance
- Intake-system servicing
- Filter replacement
- Dust-contamination control
- Compressor overhaul
- Airflow troubleshooting
- High-contamination applications
The correct part number and physical configuration should always be verified against the specific compressor installation.
Installation Guide
1. Verify the Replacement Component
Before installation, confirm:
Ingersoll Rand 47704431001
47569978001 Gasket Pre-Filter
Check:
- Part number
- Dimensions
- Physical condition
- Mounting arrangement
- Sealing surfaces
- Packaging condition
Do not install a component that is damaged, deformed, contaminated, or improperly packaged.
2. Shut Down the Compressor
Stop the compressor according to the normal shutdown procedure.
Then isolate the machine using the site’s approved lockout/tagout procedure.
The compressor should be:
- Shut down
- Electrically isolated
- Protected against accidental restart
- In a safe maintenance state
3. Prepare the Maintenance Area
Prepare:
- Replacement pre-filter
- Clean cloths
- Appropriate hand tools
- Inspection light
- Approved cleaning materials
- Suitable protective equipment
Because the pre-filter is part of the intake system, cleanliness is especially important during replacement.
4. Open the Intake Assembly
Access the pre-filter according to the compressor’s mechanical configuration.
Remove the appropriate retaining components carefully.
Avoid disturbing accumulated dust unnecessarily.
5. Remove the Existing Pre-Filter
Remove the old pre-filter from the intake assembly.
Handle the used component carefully to avoid releasing accumulated contaminants into the compressor intake area.
Place the removed component in a suitable container.
6. Inspect the Intake Housing
Inspect the surrounding intake assembly for:
- Dust accumulation
- Dirt
- Moisture
- Oil contamination
- Damaged mounting surfaces
- Loose fasteners
- Cracks
- Air bypass paths
A dirty housing should be cleaned before installing the new component.
7. Inspect the Gasket and Sealing Area
Because the product is identified as a Gasket Pre-Filter, inspect the applicable sealing arrangement carefully.
Check for:
- Uneven seating
- Gasket deterioration
- Cracks
- Compression damage
- Gaps
- Foreign particles
A poor seal can allow unfiltered air to bypass the filtration stage.
8. Clean the Mounting Area
Clean the mounting surface using an appropriate maintenance method.
Remove:
- Dust
- Dirt
- Old gasket material
- Loose particles
- Foreign objects
Do not allow contamination to fall into downstream intake passages.
9. Install the 47569978001 Pre-Filter
Position the new component correctly.
Verify that:
- It is evenly seated.
- The gasket is not folded.
- No section is pinched.
- The filter surface is not damaged.
- The mounting arrangement is aligned correctly.
Do not force the component into position.
10. Secure the Pre-Filter
Reinstall the applicable retaining hardware.
Check that the component is secure without excessive compression.
Over-tightening can deform the filter or gasket and may create an unintended airflow restriction.
11. Reassemble the Intake Housing
Close the intake assembly carefully.
Verify that:
- The cover is seated correctly.
- Fasteners are secure.
- No gaps are visible.
- The filter remains correctly positioned.
12. Inspect the Downstream Intake Path
Before restarting the compressor, inspect the downstream side of the pre-filter.
Confirm that no loose dust or foreign material has entered the clean-air path.
This step is particularly important when replacing a heavily contaminated pre-filter.
Commissioning Procedure
After installation, perform a controlled startup.
Step 1 — Visual Inspection
Confirm that the pre-filter and housing are correctly installed.
Step 2 — Check Sealing
Inspect the perimeter for potential bypass paths.
Step 3 — Start the Compressor
Start the compressor using the normal operating procedure.
Step 4 — Observe Intake Behavior
Listen for:
- Whistling
- Air leakage
- Rattling
- Vibration
- Unusual airflow noise
Step 5 — Monitor Compressor Performance
Observe:
- Operating pressure
- Temperature
- Compressor loading
- General operating stability
Step 6 — Final Inspection
After the compressor reaches stable operation, inspect the intake assembly again.
Troubleshooting Guide
Problem 1: Reduced Compressor Airflow
Possible causes include:
- Pre-filter blockage
- Incorrect pre-filter installation
- Primary filter restriction
- Intake valve problem
- Intake duct restriction
- Excessive contamination
Recommended Checks
- Inspect the pre-filter.
- Check the primary air filter.
- Inspect the intake housing.
- Check for airflow restrictions.
- Verify the intake valve.
Problem 2: Pre-Filter Becomes Dirty Quickly
Possible causes:
- High ambient dust concentration
- Poor compressor intake location
- Industrial process contamination
- Extended operating hours
- Inadequate maintenance frequency
If rapid contamination occurs, evaluate the environment around the compressor rather than simply replacing the pre-filter repeatedly.
Problem 3: Dust Appears Behind the Pre-Filter
Possible causes:
- Damaged filter material
- Incorrect installation
- Poor gasket sealing
- Housing gap
- Incorrect component positioning
Downstream contamination should be investigated promptly because particles may reach the primary air filter or compressor intake.
Problem 4: Abnormal Airflow Noise
Possible causes:
- Loose housing
- Poor gasket sealing
- Filter deformation
- Air bypass
- Intake restriction
- Loose retaining hardware
Inspect the entire pre-filter assembly.
Problem 5: High Intake Restriction
Possible causes:
- Excessively contaminated pre-filter
- Blocked primary air filter
- Incorrect filter type
- Wet filter media
- Collapsed filter material
- Foreign material in the intake path
The pre-filter and primary filter should be assessed together.
Problem 6: Compressor Performance Does Not Improve After Pre-Filter Replacement
Possible causes may include:
- Primary air filter restriction
- Intake valve malfunction
- Compression-element wear
- Air leakage
- Cooling-system problems
- Control-system faults
Replacing the pre-filter alone cannot correct faults originating elsewhere in the compressor.
Problem 7: Gasket Does Not Seat Correctly
Possible causes:
- Incorrect component
- Damaged gasket
- Dirty mounting surface
- Incorrect orientation
- Deformed housing
- Improper installation
Do not operate the compressor until the sealing problem has been corrected.
Problem 8: Pre-Filter Vibrates During Operation
Possible causes:
- Loose retaining hardware
- Incorrect positioning
- Damaged housing
- Excessive airflow pulsation
- Improper fit
Inspect the mounting arrangement and surrounding intake system.
Pre-Filter Fault Diagnosis
A systematic diagnostic sequence is:
Ambient Air
↓
Pre-Filter
↓
Gasket / Seal
↓
Primary Air Filter
↓
Intake Valve
↓
Compression Element
↓
Compressor Output
This sequence makes it easier to determine whether a performance problem originates from pre-filtration, primary filtration, intake control, or compression.
Preventive Maintenance
| Inspection Item | Recommended Check |
|---|---|
| Pre-Filter | Inspect contamination |
| Filter Material | Check for damage |
| Gasket | Check sealing condition |
| Housing | Check cleanliness |
| Retaining Hardware | Check security |
| Intake Path | Check for obstruction |
| Primary Filter | Inspect condition |
| Airflow | Monitor for restriction |
| Intake Valve | Check operation |
| Ambient Environment | Assess dust exposure |
Factors Affecting Pre-Filter Service Life
Ambient Dust Concentration
The amount of airborne dust around the compressor has a major influence on pre-filter loading.
A compressor operating in a clean plant environment may require less frequent service than one operating near dusty industrial processes.
Operating Hours
Continuous compressor operation exposes the pre-filter to a greater volume of ambient air.
Intake Location
The position of the compressor air intake can affect the amount of dust and debris entering the filtration system.
Moisture
Excessive moisture can affect filtration performance and may contribute to deterioration of some filter materials.
Housing Sealing
Poor sealing can allow contaminated air to bypass the intended filtration path.
Common Maintenance Mistakes
Ignoring the Gasket
A filter can be correctly positioned while the gasket remains incorrectly seated.
This can create a bypass path for contaminated air.
Installing a Contaminated Filter
Never install a replacement filter that has been exposed to dust, moisture, oil, or other contaminants.
Cleaning the Housing Poorly
Loose dust remaining inside the intake housing can immediately contaminate the clean side of the filtration system.
Using Excessive Fastener Force
Excessive tightening can deform the gasket or filter assembly.
Replacing Only the Pre-Filter
If the primary filter is already heavily restricted, replacing the pre-filter alone will not restore normal airflow.
Post-Maintenance Inspection Checklist
- Correct 47704431001 reference confirmed
- Correct 47569978001 component confirmed
- Compressor safely shut down
- Intake assembly opened safely
- Old pre-filter removed
- Housing cleaned
- Gasket surface inspected
- New pre-filter inspected
- Pre-filter correctly positioned
- Gasket correctly seated
- Retaining hardware secured
- Housing closed correctly
- Downstream intake path inspected
- Compressor restarted safely
- Airflow checked
- Abnormal noise checked
- Final leakage inspection completed
Key Advantages
- Designed for compatible Ingersoll Rand compressor intake systems
- Provides an initial barrier against larger airborne contaminants
- Helps reduce contamination reaching downstream filtration
- Supports primary air-filter protection
- Supplied dimensions of 457 × 15 × 304 mm
- Supplied weight of 0.45 kg
- Suitable for preventive maintenance
- Supports cleaner compressor intake air
- Useful in dusty industrial environments
- Helps maintain stable intake airflow when properly maintained
Technical FAQs
What is the Ingersoll Rand 47569978001?
The 47569978001 is identified as a Gasket Pre-Filter associated with the supplied 47704431001 reference.
What does a pre-filter do?
A pre-filter provides an initial stage of air filtration, helping capture larger airborne contaminants before they reach downstream filtration components.
What are the dimensions of the 47569978001?
The supplied dimensions are 457 × 15 × 304 mm.
What is its weight?
The supplied weight is 0.45 kg.
Why is a pre-filter useful?
A pre-filter can reduce the contaminant load reaching the primary air filter and help maintain cleaner intake air.
Can a pre-filter replace the primary air filter?
No. A pre-filter and primary filter perform different filtration roles. The primary compressor air filter should continue to be maintained according to the applicable maintenance procedure.
Why does the pre-filter become dirty quickly?
High dust concentration, long operating hours, poor intake location, or severe industrial contamination can accelerate loading.
What happens if the pre-filter is blocked?
A heavily restricted pre-filter can increase intake resistance and reduce airflow available to the compressor.
Why is the gasket important?
A properly seated gasket helps prevent contaminated air from bypassing the intended filtration path.
What causes dust to appear downstream of the pre-filter?
Possible causes include damaged filter material, poor sealing, incorrect installation, housing gaps, or component damage.
Should the compressor be running during pre-filter replacement?
No. The compressor should be shut down and placed in a safe maintenance condition before servicing the intake system.
What should be checked after installation?
Check filter positioning, gasket seating, housing security, airflow, abnormal noise, and overall compressor performance.
What if compressor airflow remains low after replacing the pre-filter?
Inspect the primary air filter, intake valve, intake duct, compression element, and other components that can restrict or reduce airflow.
How can pre-filter life be extended?
Maintaining a clean compressor intake environment, inspecting the filter regularly, keeping the housing sealed, and following an appropriate maintenance schedule can help maximize service life.
Conclusion
The Ingersoll Rand 47704431001 47569978001 Gasket Pre-Filter is a filtration-related maintenance component for compatible industrial compressor intake systems. With supplied dimensions of 457 × 15 × 304 mm and a weight of 0.45 kg, it is suitable for planned maintenance and replacement operations.
Its primary role is to provide an initial filtration barrier for incoming ambient air, helping reduce the amount of larger airborne contamination reaching downstream filtration components. This function is particularly valuable in industrial environments where dust and airborne particles can place a high load on compressor air filters.
Correct installation requires careful removal of the old component, cleaning of the intake housing, inspection of the gasket and sealing surfaces, accurate positioning of the replacement pre-filter, and secure reassembly of the intake housing.
After installation, the compressor should be restarted under controlled conditions and checked for airflow restriction, abnormal noise, air leakage, and stable operating performance. If problems remain, technicians should inspect the primary air filter, intake valve, intake duct, and compression system rather than assuming that the pre-filter is the sole cause.
Regular inspection and timely replacement of the pre-filter can contribute to cleaner intake air, better filtration-system performance, and more reliable compressor operation.