

ProductPRODUCT
Featured products
Contact Us
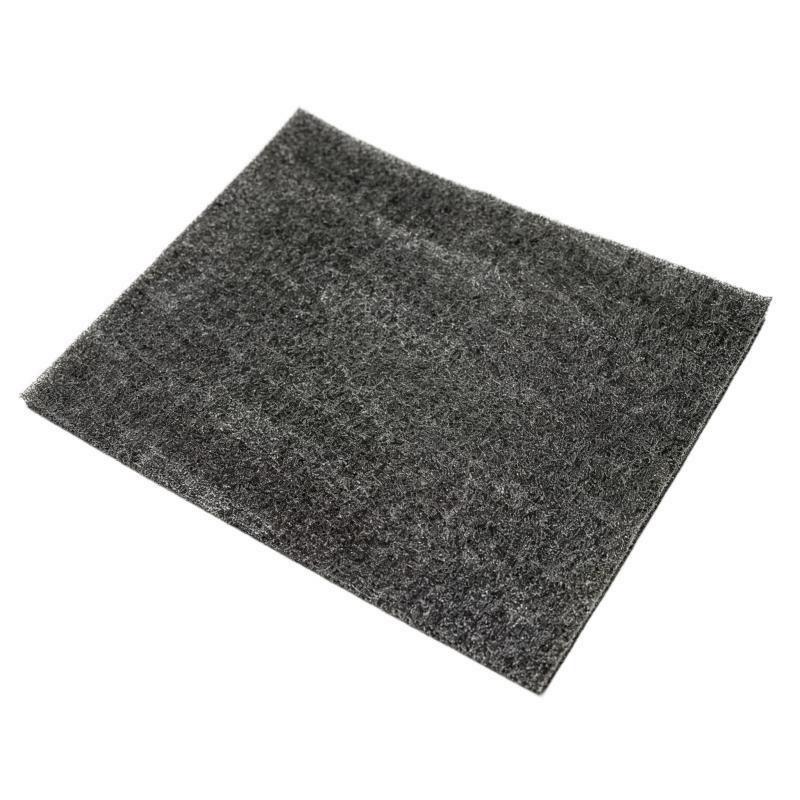
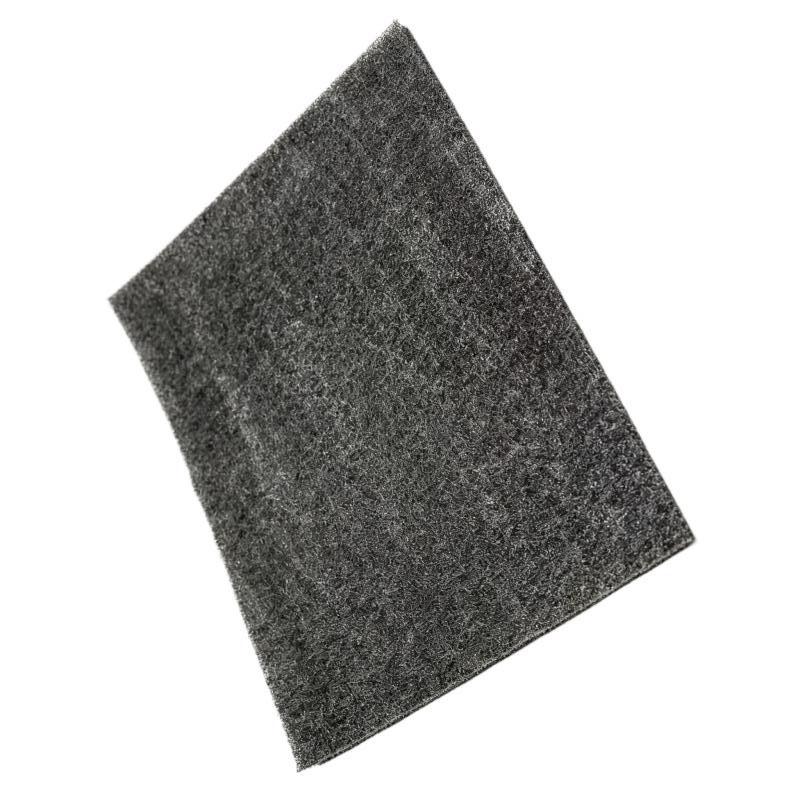
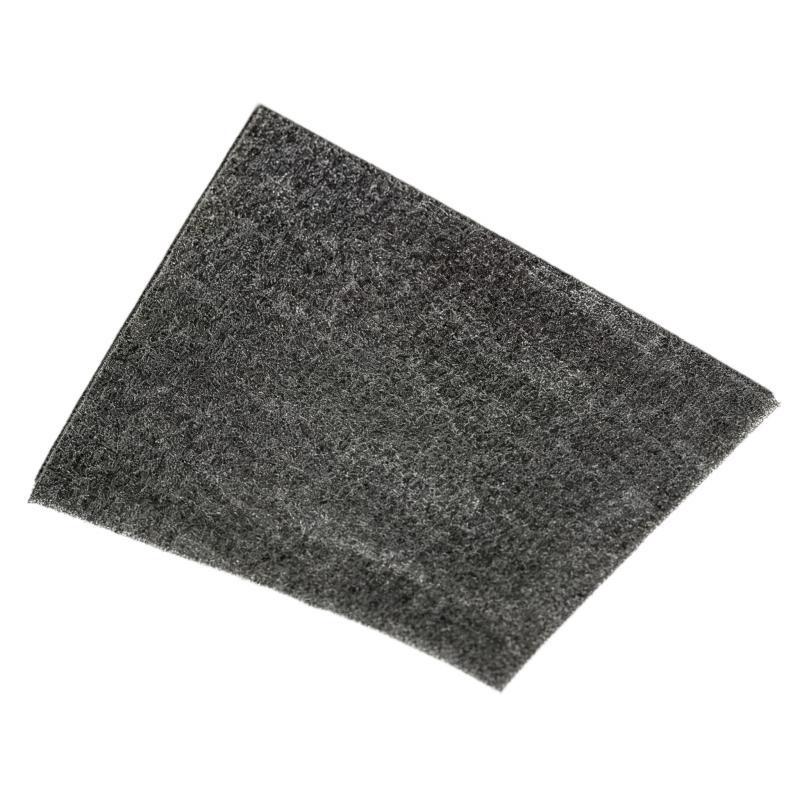
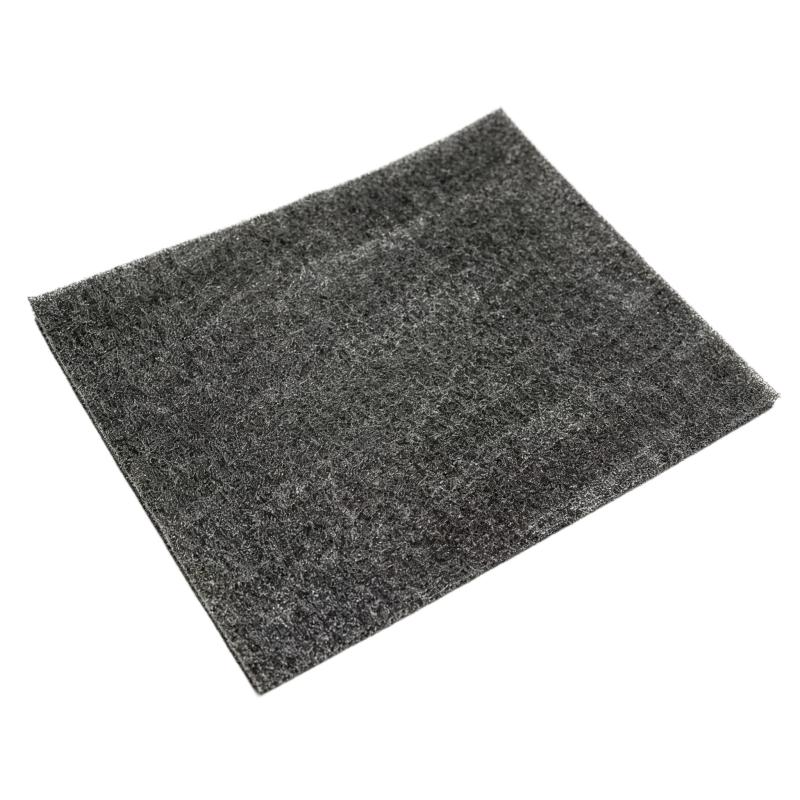
- Ingersoll Rand
- 47704434001 47569978001
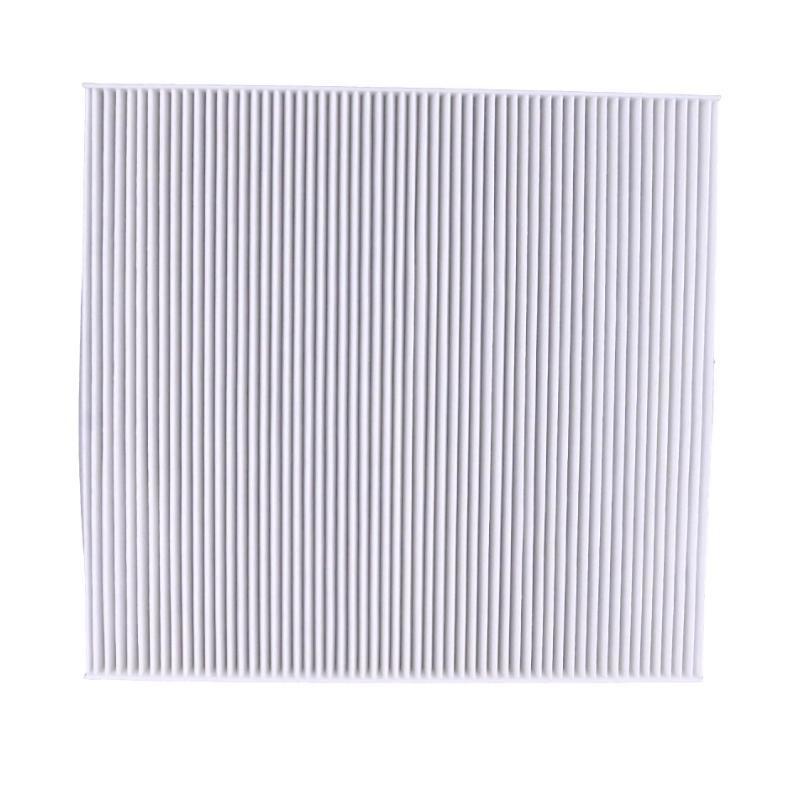
- Gasket Pre-Filter
- USA
- 457 × 15 × 304 mm
- 0.45 kg
- Xiamen, China
- New & In Stock
- T/T, PayPal, Western Union
- 1 Year
- 1-3 Working Days
- DHL, UPS, TNT, FedEx and EMS.
- 24-Hour Service
- COO
- 83
Our advantage

Global Logistics
We have a 10-year logistics and express cooperation agreement, so our products can be shipped to any place in the world.

Brand new and original
Our products are imported in bulk from the place of origin. Because of the cooperative relationship, our products are all original and 100% new.

24-hour service
We provide 7*24 hours service to our customers. We will be there whenever you need us.

Price advantage
All our products are priced very favorably because we have our own warehouse and supply.
| Company Information | |||
| [email protected] | |||
| Mobile | +8615980777398 | ||
| +8615980777398 | |||
| 15980777398 |
Product Overview
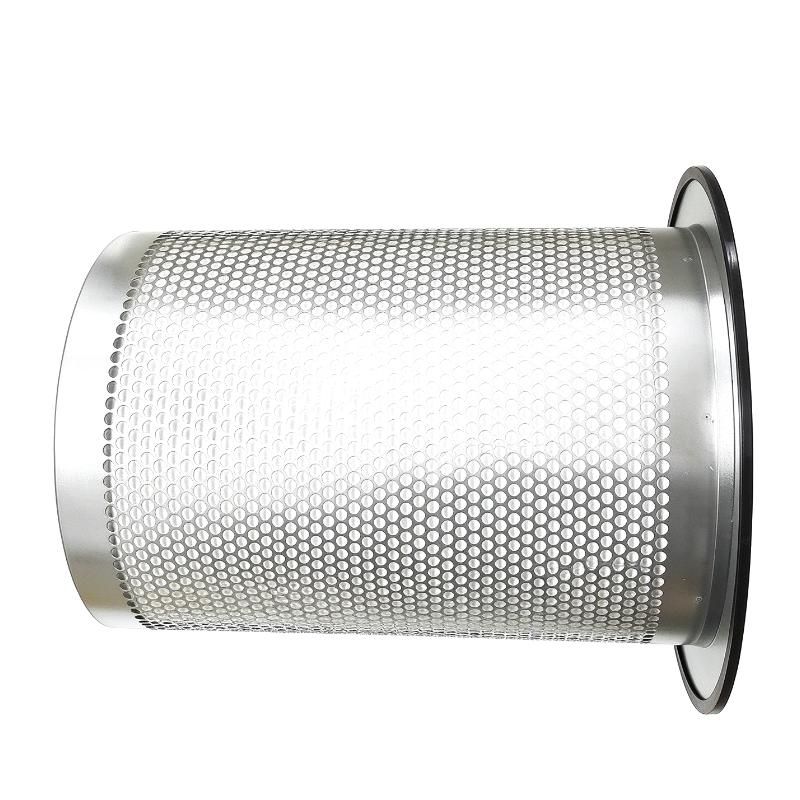
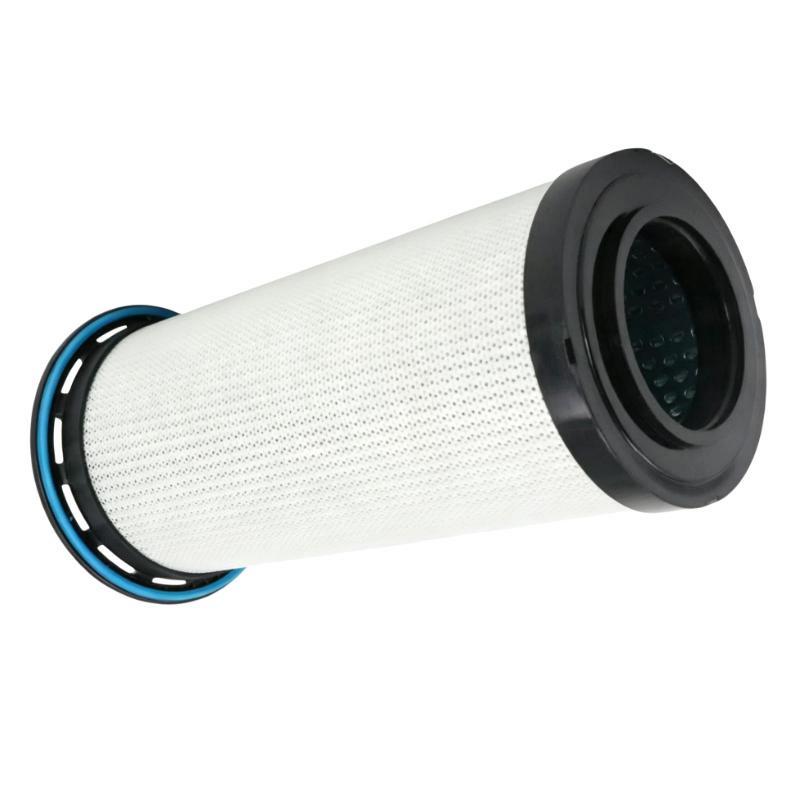
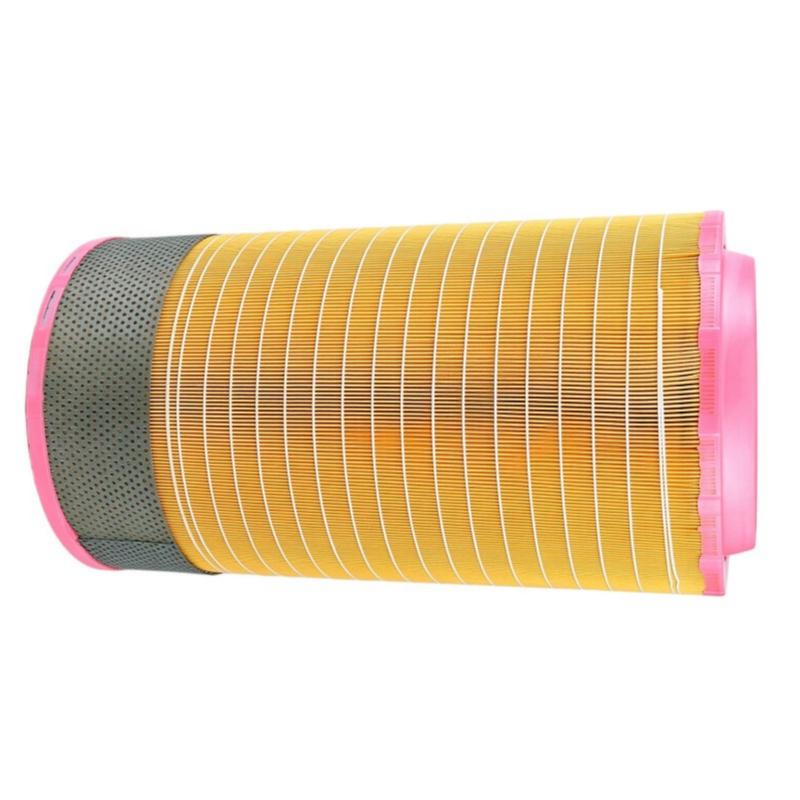
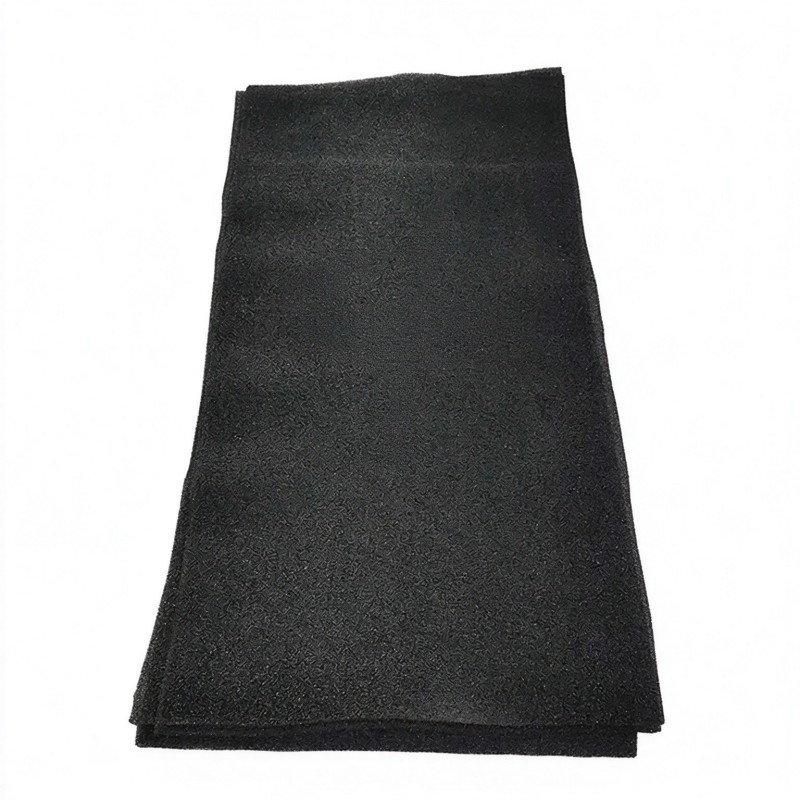
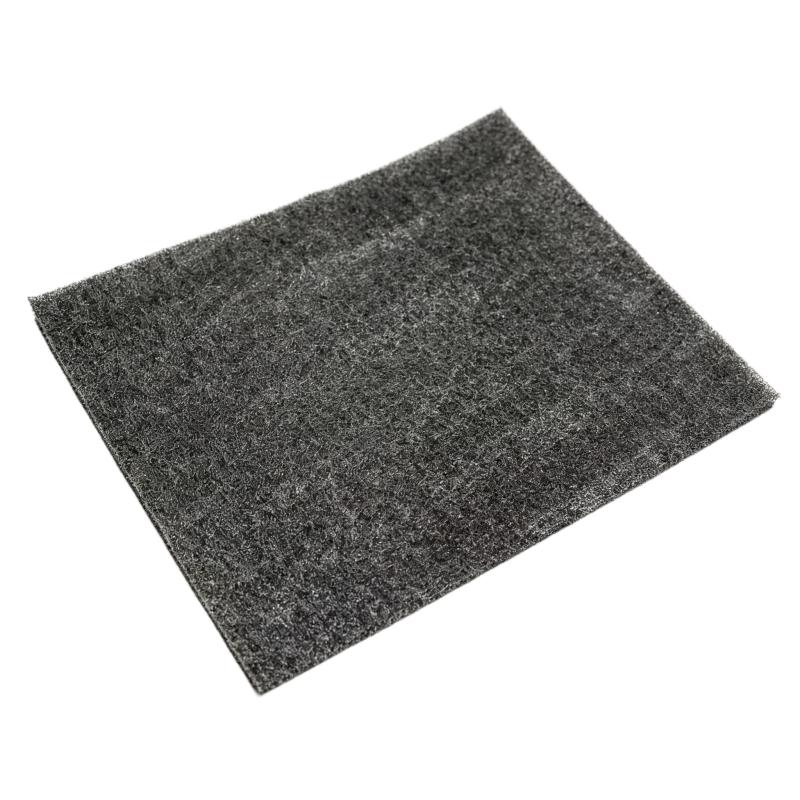
The Ingersoll Rand 47704434001 47569978001 Gasket Pre-Filter is a maintenance component used in compatible industrial compressor filtration systems. As part of a multi-stage filtration arrangement, the pre-filter helps capture larger contaminants before they reach downstream filtration components or protected compressor equipment.
The gasket element of the assembly is particularly important because filtration performance depends not only on the filter media but also on correct sealing. A poorly seated gasket, damaged sealing surface, or incorrectly installed pre-filter can allow contaminated air to bypass the intended filtration path.
The supplied dimensions of the 47569978001 Gasket Pre-Filter are 457 × 15 × 304 mm, with a weight of 0.45 kg. Its large, relatively thin form factor makes proper positioning and sealing especially important during installation.
This component should be matched to the compressor’s actual model, filter housing, and maintenance configuration before replacement. Physical dimensions alone are not sufficient to establish compatibility.
Product Identification
| Parameter | Specification |
|---|---|
| Manufacturer | Ingersoll Rand |
| Main Reference | 47704434001 |
| Component Part Number | 47569978001 |
| Product Type | Gasket Pre-Filter |
| Primary Function | Pre-Filtration and Sealing |
| Application | Industrial Compressor Filtration |
| Dimensions | 457 × 15 × 304 mm |
| Weight | 0.45 kg |
| Installation Location | Compatible Filter Assembly |
| Maintenance Type | Preventive / Corrective Maintenance |
| Typical Equipment | Industrial Air Compressor Systems |
Technical Specifications
| Technical Item | Specification |
|---|---|
| Brand | Ingersoll Rand |
| Reference | 47704434001 |
| Part Number | 47569978001 |
| Component Category | Gasket Pre-Filter |
| Filtration Stage | Pre-Filtration |
| Sealing Function | Helps Prevent Air Bypass |
| Dimensions | 457 × 15 × 304 mm |
| Weight | 0.45 kg |
| Application | Compressor Filtration System |
| Installation | Filter Housing / Pre-Filter Assembly |
| Maintenance Purpose | Restore Filtration and Sealing Performance |
What Is a Gasket Pre-Filter?
A pre-filter is normally positioned upstream of a primary or finer filtration stage. Its purpose is to intercept larger contaminants before they reach downstream filter media.
A simplified filtration arrangement is:
Ambient Air
↓
47569978001 Gasket Pre-Filter
↓
Primary Filter
↓
Compressor Intake / Protected Equipment
↓
Compressor Air End
The gasket portion also contributes to the sealing interface. The exact arrangement depends on the specific filter housing and compressor configuration.
Main Functions
Pre-Filtration
The pre-filter helps remove larger airborne particles before they reach the main filtration stage.
This can reduce the contamination load on downstream filter media.
Sealing
The gasket component helps maintain a controlled air path through the filter assembly.
Effective sealing prevents:
- Air bypass
- Unfiltered-air leakage
- Dust migration
- Loss of filtration efficiency
Protection of Downstream Components
By intercepting contaminants upstream, the pre-filter can help reduce contamination entering downstream components.
Why Pre-Filter Maintenance Matters
A pre-filter operates continuously when the associated compressor or filtration system is running. Over time it can accumulate:
- Dust
- Dirt
- Industrial particles
- Fibers
- Environmental debris
As contamination increases, airflow resistance can rise.
At the same time, deterioration of the gasket can cause leakage around the filter rather than through the filtration media.
Both conditions can negatively affect system performance.
Typical Applications
The 47569978001 Gasket Pre-Filter can be incorporated into maintenance activities for compatible Ingersoll Rand compressor systems.
Potential industrial environments include:
- Manufacturing plants
- Automotive factories
- Chemical processing
- Food and beverage production
- Pharmaceutical facilities
- Power plants
- Water treatment facilities
- Mining operations
- Industrial workshops
- Process automation facilities
The actual application depends on the compressor and filtration assembly.
Installation Guide
1. Confirm Compatibility
Before beginning maintenance, verify:
- Compressor model
- Compressor serial number
- Filter assembly
- Existing pre-filter
- Main reference 47704434001
- Part number 47569978001
Do not rely solely on physical dimensions when selecting a replacement component.
2. Shut Down the Compressor
Before opening the filtration assembly:
- Stop the compressor.
- Disconnect or isolate electrical power.
- Prevent accidental startup.
- Release stored pressure where applicable.
- Allow hot components to cool.
- Follow plant lockout/tagout procedures.
Never service a pressurized filter assembly.
3. Locate the Pre-Filter Assembly
Identify the filter housing or intake assembly containing the pre-filter.
Inspect the surrounding area for:
- Dust
- Oil
- Dirt
- Loose hardware
- Damaged seals
- Air leakage
Clean the exterior before opening the housing.
4. Remove the Existing Pre-Filter
Open the filter assembly according to the applicable compressor maintenance procedure.
Carefully remove the old pre-filter.
Prevent accumulated contaminants from falling into the downstream intake passage.
5. Inspect the Housing
Check the housing for:
- Cracks
- Corrosion
- Deformation
- Dirt accumulation
- Damaged sealing surfaces
- Loose fasteners
A damaged housing may prevent the new gasket from sealing correctly.
6. Clean the Sealing Surface
Before installing the replacement component:
- Remove dust.
- Remove old gasket residue where applicable.
- Clean the contact surface.
- Check for scratches or deformation.
The sealing surface should be clean and free from foreign material.
7. Inspect the New Pre-Filter
Before installation, inspect the 47569978001 component for:
- Tears
- Cracks
- Deformation
- Contamination
- Damaged edges
- Manufacturing damage
Do not install a damaged component.
8. Confirm Orientation
Compare the replacement component with the original assembly.
Verify:
- Correct orientation
- Correct seating position
- Correct gasket location
- Proper alignment with the housing
A large gasket-style component can appear correctly installed while still being misaligned around part of the housing.
9. Install the Pre-Filter
Carefully position the component in the filter assembly.
Make sure the gasket is:
- Fully seated
- Evenly positioned
- Not twisted
- Not folded
- Not pinched
- Not displaced
Do not use excessive force to push the component into position.
10. Reassemble the Housing
Close the filter assembly and reinstall all required hardware.
Check:
- Cover alignment
- Fasteners
- Clamps
- Sealing surfaces
- Filter seating
Tighten hardware according to the applicable equipment maintenance procedure.
11. Restore the Compressor
After confirming correct installation:
- Remove tools and foreign objects.
- Restore the filter assembly.
- Restore electrical power.
- Start the compressor.
- Allow the compressor to reach normal operating conditions.
- Monitor the filtration system.
12. Check for Air Bypass
During initial operation, inspect the filter assembly for signs of leakage.
Look for:
- Air leakage
- Abnormal vibration
- Dust movement
- Unusual noise
- Pressure abnormalities
A damaged or incorrectly seated gasket may allow air to bypass the filtration media.
Commissioning Verification
After installation, verify the following.
Filter Seating
Confirm that the pre-filter remains correctly positioned after the compressor reaches operating conditions.
Airflow
Check for normal intake airflow.
Differential Pressure
Where monitoring is available, check the pressure differential across the filtration system.
Leakage
Inspect the gasket interface for bypass leakage.
Compressor Performance
Monitor:
- Operating pressure
- Temperature
- Motor current
- Load/unload behavior
Troubleshooting Guide
Air Filter System Has High Pressure Drop
Possible causes include:
- Contaminated pre-filter
- Blocked primary filter
- Incorrect pre-filter installation
- Restricted intake path
- Excessive environmental contamination
Inspect the complete filtration system rather than replacing only the pre-filter.
Air Bypasses the Pre-Filter
Possible causes:
- Gasket incorrectly positioned
- Damaged gasket
- Uneven seating
- Damaged housing
- Deformed sealing surface
Inspect the entire gasket interface.
Dust Appears Downstream
Possible causes include:
- Pre-filter damage
- Gasket leakage
- Incorrect installation
- Filter housing bypass
- Damaged primary filter
Check both filtration stages.
Compressor Has Reduced Airflow
Potential causes include:
- Dirty pre-filter
- Blocked primary filter
- Intake restriction
- Incorrect gasket installation
- Damaged filter housing
Compare the differential pressure before and after maintenance when possible.
Compressor Overheats
Possible causes include:
- Restricted intake airflow
- Excessive filter pressure drop
- Dirty cooling system
- High ambient temperature
- Poor ventilation
- Compressor overload
The pre-filter should be inspected as part of the complete airflow investigation.
Gasket Is Damaged During Installation
Possible causes:
- Excessive force
- Misalignment
- Sharp housing edges
- Incorrect installation technique
- Incorrect component
Do not continue operating with a visibly damaged sealing component.
Gasket Becomes Deformed
Possible causes:
- Improper storage
- Incorrect installation
- Excessive compression
- Incorrect housing alignment
- Component mismatch
Verify the installation arrangement before restarting the equipment.
Filter Becomes Contaminated Quickly
Rapid contamination may result from:
- High dust levels
- Dirty compressor room
- Construction activity
- Poor environmental control
- Upstream filtration problems
Investigate the operating environment if replacement intervals become unusually short.
Abnormal Noise After Installation
Possible causes:
- Loose housing
- Gasket vibration
- Improper seating
- Air leakage
- Filter assembly damage
Stop the compressor if abnormal noise indicates possible mechanical damage.
Preventive Maintenance
Routine Inspection
Inspect the filtration assembly for:
- Dust accumulation
- Gasket condition
- Filter loading
- Air leakage
- Housing damage
Differential Pressure Monitoring
If the system provides differential-pressure monitoring, record values during normal operation.
A rising pressure differential may indicate progressive filter loading.
Gasket Inspection
Look for:
- Cracks
- Hardening
- Flattening
- Tears
- Deformation
- Loss of elasticity
Environmental Inspection
Evaluate the compressor-room environment for:
- Dust
- Smoke
- Fibers
- Moisture
- Chemical contamination
Harsh environments can accelerate filter and gasket deterioration.
Replacement Checklist
| Inspection Item | Verification |
|---|---|
| Compressor Model | Confirmed |
| Serial Number | Confirmed |
| Main Reference | 47704434001 |
| Component Number | 47569978001 |
| Dimensions | 457 × 15 × 304 mm |
| Weight | 0.45 kg |
| Compressor Isolated | Completed |
| Pressure Released | Completed |
| Existing Pre-Filter Removed | Completed |
| Housing Inspected | Completed |
| Sealing Surface Cleaned | Completed |
| Replacement Component Inspected | Completed |
| Orientation Verified | Completed |
| Gasket Correctly Seated | Completed |
| Housing Reassembled | Completed |
| Leakage Checked | Completed |
| Differential Pressure Checked | Completed |
| Compressor Performance Verified | Completed |
Related Compressor Components
The pre-filter normally works together with several other compressor components.
| Component | Typical Function |
|---|---|
| Air Filter | Removes Airborne Contaminants |
| Pre-Filter | Captures Larger Contaminants |
| Filter Housing | Supports Filtration Elements |
| Intake Valve | Controls Compressor Intake |
| Air-Oil Separator | Separates Oil From Compressed Air |
| Oil Filter | Filters Compressor Oil |
| Minimum Pressure Valve | Maintains Minimum System Pressure |
| Temperature Control Valve | Regulates Oil Temperature |
| Compressor Air End | Compresses Incoming Air |
Actual component compatibility depends on the compressor configuration.
Key Advantages
Supports Multi-Stage Filtration
The pre-filter can reduce the contamination burden placed on downstream filtration components.
Helps Prevent Air Bypass
The gasket function supports proper sealing between the filter assembly and housing.
Protects Downstream Equipment
Effective pre-filtration helps reduce the amount of larger particulate contamination entering the downstream filtration system.
Supports Stable Airflow
A clean and correctly installed pre-filter helps maintain the intended intake airflow.
Suitable for Maintenance Programs
The component can be maintained or replaced as part of scheduled compressor filtration service.
Compact Maintenance Component
The supplied dimensions are 457 × 15 × 304 mm, with a weight of 0.45 kg, making it suitable for planned maintenance inventory.
Frequently Asked Questions
What is Ingersoll Rand 47569978001?
It is a Gasket Pre-Filter associated with the supplied 47704434001 reference for compatible Ingersoll Rand compressor filtration equipment.
What are the dimensions?
The supplied dimensions are:
457 × 15 × 304 mm
What is the weight?
The supplied weight is:
0.45 kg
What does a pre-filter do?
A pre-filter is generally installed upstream of a primary filter to capture larger contaminants and reduce the contamination load on the downstream filtration stage.
What is the purpose of the gasket?
The gasket helps create a controlled sealing interface so that contaminated air does not bypass the intended filtration path.
What happens if the gasket is installed incorrectly?
Air may bypass the filter, allowing contaminants to enter downstream equipment and potentially reducing filtration performance.
What are signs of gasket failure?
Common indications include:
- Air leakage
- Dust downstream of the filter
- Abnormal pressure drop
- Visible gasket deformation
- Unusual intake noise
Should the filter housing be cleaned during replacement?
Yes. The sealing surfaces and surrounding housing should be inspected and cleaned before installing the replacement component.
How often should the pre-filter be replaced?
The appropriate interval depends on operating hours, environmental contamination, differential pressure, and the maintenance requirements of the specific compressor system.
Can this component be installed on any Ingersoll Rand compressor?
No. Compatibility must be confirmed against the actual compressor model, serial number, filter assembly, and applicable parts information.
Installation Checklist
| Item | Status |
|---|---|
| Correct Component Identified | ✓ |
| Compressor Isolated | ✓ |
| Pressure Released | ✓ |
| Existing Pre-Filter Removed | ✓ |
| Housing Inspected | ✓ |
| Sealing Surface Cleaned | ✓ |
| Replacement Component Inspected | ✓ |
| Correct Orientation Confirmed | ✓ |
| Gasket Properly Seated | ✓ |
| Housing Secured | ✓ |
| Air Leakage Checked | ✓ |
| Differential Pressure Checked | ✓ |
| Compressor Restarted | ✓ |
| System Performance Verified | ✓ |
Conclusion
The Ingersoll Rand 47704434001 47569978001 Gasket Pre-Filter is a maintenance component designed to support effective pre-filtration and sealing within compatible industrial compressor filtration systems. Its dual role in contamination control and sealing makes correct installation particularly important.
The supplied component dimensions are 457 × 15 × 304 mm, with a weight of 0.45 kg. During replacement, technicians should pay close attention to the condition of the filter housing, sealing surfaces, component orientation, and gasket seating. Even a high-quality filter element cannot provide effective protection if air is able to bypass the filtration path.
For reliable operation, maintenance should be performed with the compressor stopped, isolated, depressurized, and cooled as necessary. After installation, the system should be checked for leakage, abnormal pressure drop, airflow restrictions, and changes in compressor operating behavior.
When correctly matched to the applicable compressor configuration and properly installed, the 47569978001 Gasket Pre-Filter can help maintain clean intake airflow, reduce the contamination burden on downstream filtration, and support reliable long-term operation of compatible Ingersoll Rand compressed-air systems.